Your front door is more than just an entrance to your home; it’s a statement of style and a first impression to guests and passersby. Painting your front door is an excellent way to enhance your home’s curb appeal and express your personal taste.
Choosing the Right Color
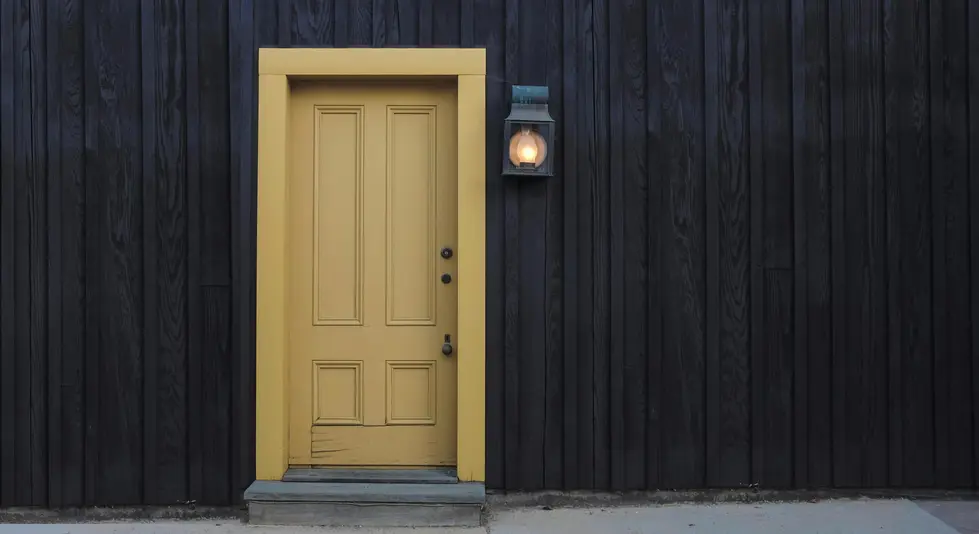
The first step in painting your front door is selecting the perfect color. Consider the overall color scheme of your home and your surroundings. Bold colors like red or teal can create a striking contrast, while muted shades such as gray or sage offer a more subtle elegance. Carrying a color swatch outside to see how it complements your home’s exterior at different times of day is a helpful strategy.
Gathering the Necessary Supplies
Before you start the project, make sure you have all necessary materials. Here’s a list to guide you:
- Quality exterior paint
- Primer
- Sandpaper (medium and fine grit)
- Painters tape
- Paint brushes and rollers
- Drop cloth
- Screwdriver and drill
- Cleaning supplies
- Protective gear like gloves and safety goggles
Preparing Your Door
Proper preparation is crucial for a lasting finish. Begin by removing the door from its hinges if possible. This makes it easier to paint and ensures you can cover every inch thoroughly. Lay the door flat on sawhorses or a sturdy workstation covered with a drop cloth.
Next, unscrew and remove all hardware including doorknobs, locks, and any kick plates. This prevents paint from accidentally getting on these components and allows for full coverage of the door.
Clean the door using a mild soap and water to remove dirt and grime. Let it dry completely before moving on to sanding.
Sanding and Priming
With medium-grit sandpaper, sand the whole surface of the door to help the primer and paint adhere better. Pay special attention to any previous paint drips or surface imperfections. After sanding, wipe the door with a damp cloth to remove dust.
Apply a coat of primer using a roller for large areas and a brush for corners and detailed sections. Primer helps in hiding imperfections and also allows the paint to stick properly. Allow the primer to dry thoroughly as per the manufacturer’s instructions.
Applying the Paint
Now comes the exciting part: painting the door. Opt for a high-quality exterior enamel paint for durability. Stir the paint well before using.
Start painting with a brush around the molding and any indented areas. Use a roller for larger, flat surfaces to achieve a smooth finish. Avoid overloading the brush or roller to prevent drips. Two to three thin coats are usually better than one thick coat.
Let each coat dry completely before applying the next. This step can’t be rushed as paint that hasn’t dried can peel or smudge easily. Patience is key here!
Reattaching Hardware and Hanging the Door
Once your door is fully painted and dried, reattach the door’s hardware. This is also an ideal time to consider updating the hardware for a refreshed look. A new doorknob or knocker can add a lot of character.
Rehang the door carefully on its hinges. It might be helpful to have another person assist with this step to ensure everything lines up correctly.
Caring for Your Newly Painted Door
To maintain the door’s fresh appearance, clean it regularly with a non-abrasive cleaner. This helps keep the color vibrant and the surface free from dirt and scratches. If you notice any chips or scuffs, touch them up quickly to prevent further damage.
With these steps, your front door can become a stunning centerpiece for your home’s exterior. Painting your front door is a satisfying DIY project that significantly boosts the visual appeal of your property.


